Cruxgg Coffee Maker Manual: A Comprehensive Guide (Updated 12/26/2025)
Welcome! This comprehensive manual details the Cruxgg 12-Cup Coffee Maker, offering guidance from initial setup through daily operation, maintenance, and troubleshooting procedures.
Congratulations on choosing the Cruxgg Coffee Maker! We’re thrilled you’ve selected our product to elevate your daily coffee ritual. This manual serves as your complete resource, designed to ensure a seamless and satisfying experience with your new appliance. The Cruxgg Coffee Maker is engineered for convenience, reliability, and consistently delicious coffee.
This guide will walk you through every step, from unboxing and initial setup to mastering advanced features and performing routine maintenance. We understand that every user is unique, so we’ve included detailed instructions and troubleshooting tips to address a wide range of needs. Whether you prefer a simple, standard brew or enjoy experimenting with programmable settings, this manual will empower you to unlock the full potential of your Cruxgg Coffee Maker. Enjoy!
Understanding Your Cruxgg Model
Your Cruxgg Coffee Maker is designed with user-friendliness in mind, incorporating several key components for optimal performance. Familiarizing yourself with these elements will greatly enhance your brewing experience. The model features a 12-cup capacity, ideal for families or entertaining guests. It boasts a programmable timer, allowing you to wake up to freshly brewed coffee.
Key features include adjustable brew strength settings, catering to individual preferences, and a keep-warm function to maintain coffee temperature for extended periods. The pause-and-serve feature provides convenient access to coffee mid-brew. This manual will detail each component, explaining its function and how to utilize it effectively. Understanding these features will allow you to customize your brewing process and consistently enjoy a perfect cup.
Safety Precautions
Important Safety Instructions: To ensure safe operation of your Cruxgg Coffee Maker, please read and adhere to the following precautions. Always ensure the appliance is properly grounded. Never immerse the coffee maker, cord, or plug in water or other liquids. Avoid operating the appliance with a damaged cord or plug.
Keep the coffee maker out of reach of children. Do not touch hot surfaces; use handles or knobs. Exercise caution when handling hot coffee and steam. Unplug the coffee maker before cleaning and allow it to cool completely. Never operate the appliance outdoors. This appliance is for household use only. Failure to follow these safety guidelines could result in injury or damage to the appliance.
Setting Up Your Cruxgg Coffee Maker
Preparation is key! This section guides you through unboxing, identifying parts, and performing a crucial initial cleaning to ensure optimal performance.
Unboxing and Initial Inspection
Carefully remove your Cruxgg Coffee Maker from its packaging, retaining the box and all packing materials for potential future transport or warranty claims. Inspect the coffee maker for any visible signs of damage that may have occurred during shipping. This includes checking the housing, carafe, filter basket, and all included accessories.
Verify that all components listed in the included parts list are present. If any parts are missing or damaged, do not attempt to operate the coffee maker. Immediately contact Cruxgg Customer Support (details provided later in this manual) to report the issue and arrange for replacements. A quick visual inspection now can prevent frustration and ensure a seamless coffee brewing experience. Ensure the power cord is intact and free from any cuts or fraying.
Parts Identification
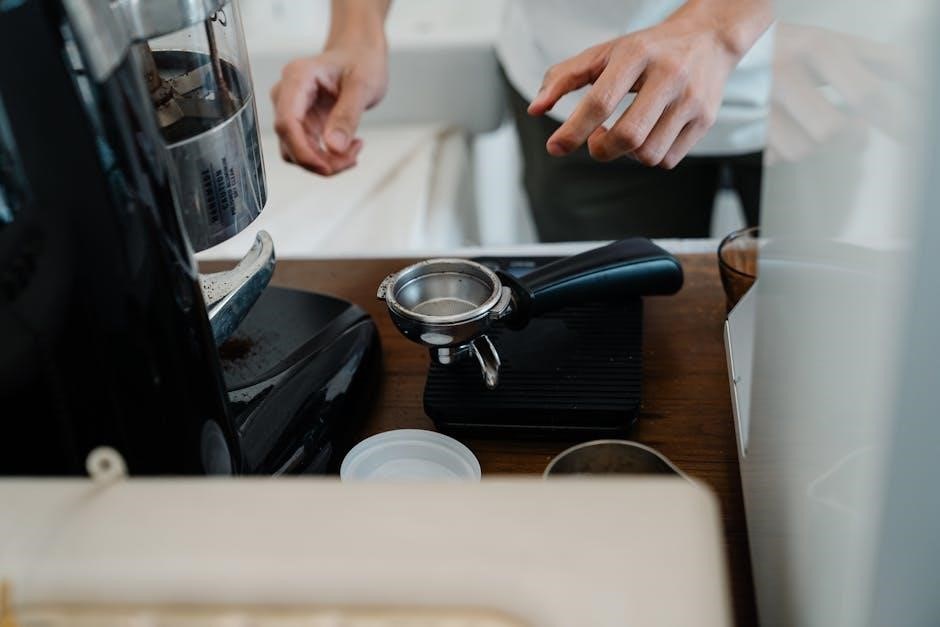
Let’s familiarize you with your Cruxgg Coffee Maker’s components. Key parts include the Water Reservoir, clearly marked with water level indicators for accurate filling; The Filter Basket, designed to hold standard paper filters or a reusable filter (sold separately). You’ll also find the Carafe, typically made of durable glass, for collecting brewed coffee.
The Control Panel houses the power button, programming buttons, and indicator lights. The Brew Button initiates the brewing cycle. Inspect the Removable Drip Tray, which catches any spills for easy cleanup. Don’t forget the Carafe Lid, ensuring safe pouring. Finally, locate the Power Cord and ensure it’s securely connected. Refer to the diagram included in this manual for a visual representation of each part and its location.
First-Time Setup: Cleaning Before Use
Before enjoying your first cup, a thorough cleaning is essential. Remove all packaging materials and inspect the coffee maker for any shipping debris. Wash the Carafe, Filter Basket, and Removable Drip Tray with warm, soapy water; rinse thoroughly. Avoid abrasive cleaners, which could damage the surfaces;
To clean the internal components, fill the Water Reservoir with fresh water and run a full brewing cycle without coffee grounds. This flushes out any residual manufacturing residue. Discard the water from the carafe. Repeat this process at least twice to ensure complete cleanliness. This initial cleaning guarantees a pure coffee flavor and prepares your Cruxgg for optimal performance. Allow all parts to dry completely before use.
Operating Instructions
Let’s brew! This section provides step-by-step instructions for daily operation, covering water filling, coffee ground addition, and brewing procedures for perfect results.
Filling the Water Reservoir
Essential for brewing! The Cruxgg coffee maker utilizes a clearly marked water reservoir located at the rear of the unit. Before each brewing cycle, ensure the reservoir is properly filled with fresh, cold water.
Locate the reservoir and carefully remove it from the coffee maker. The reservoir features easy-to-read water level indicators, displaying cup measurements for accurate filling. Fill the reservoir to the desired level, corresponding to the number of cups you intend to brew.
Important Note: Do not overfill the reservoir beyond the maximum fill line. Once filled, securely re-insert the reservoir back into its designated slot on the coffee maker. Ensure it clicks into place to prevent leaks during the brewing process. Using filtered water is recommended for optimal coffee flavor and to minimize scale buildup within the machine.
Adding Coffee Grounds
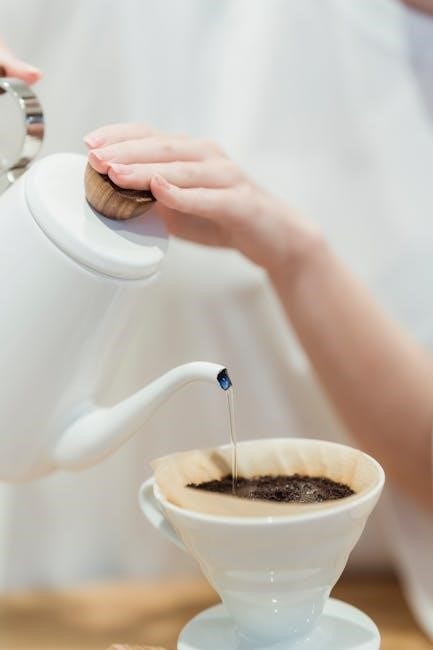
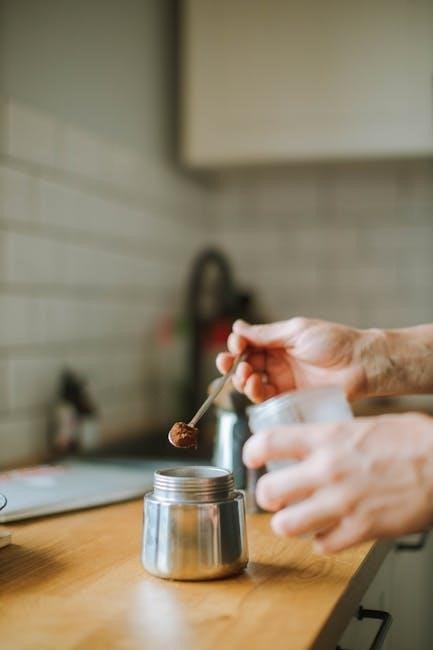
For a perfect brew! After filling the water reservoir, the next step is adding your favorite coffee grounds. Locate the filter basket, typically a swing-out or removable component within the Cruxgg coffee maker.
Insert a paper filter (size #4 cone filter is generally recommended, but check your model’s specifics) into the filter basket. Ensure the filter sits securely and doesn’t collapse. Add the desired amount of ground coffee to the filter.
General Guideline: Use approximately one tablespoon of ground coffee per cup of water. Adjust the amount to your personal preference for strength. Close the filter basket securely. Ensure it’s properly latched to prevent grounds from spilling during brewing. Using pre-ground coffee or freshly grinding your own beans will impact the final flavor!
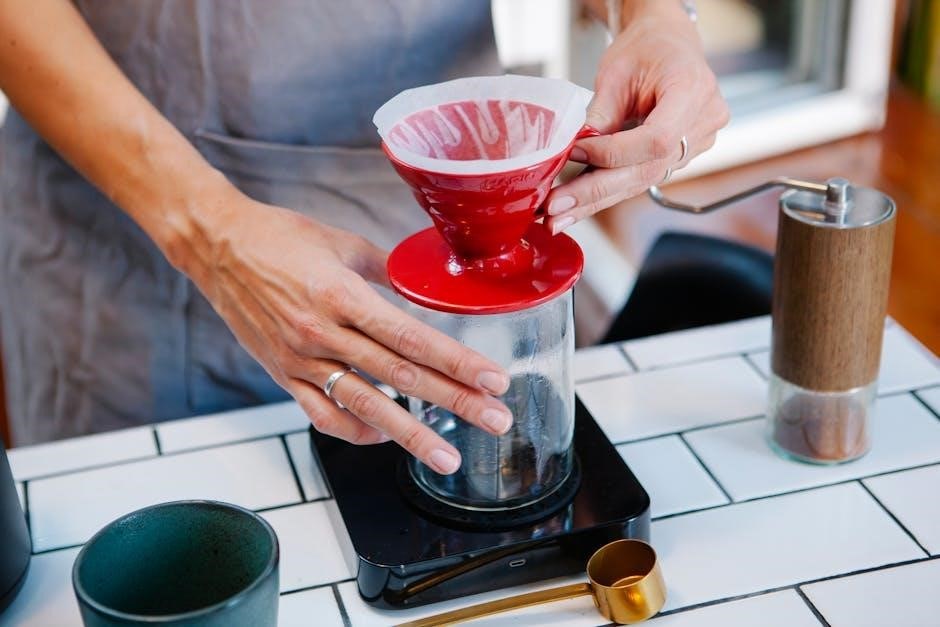
Using the Filter Basket
Essential for brewing! The Cruxgg coffee maker’s filter basket is a crucial component, holding the paper filter and coffee grounds during the brewing process. Most models feature a swing-out or removable basket for easy access and cleaning.
Before each use, confirm the basket is clean and free of old grounds. Insert a compatible paper filter – typically a #4 cone – ensuring it’s properly seated and doesn’t fold over. This prevents grounds from escaping into your coffee.
Securely close the filter basket after adding grounds. A proper seal is vital to avoid spills. Some models have a locking mechanism; ensure it clicks into place. Regularly cleaning the basket prevents residue buildup and ensures optimal coffee flavor.
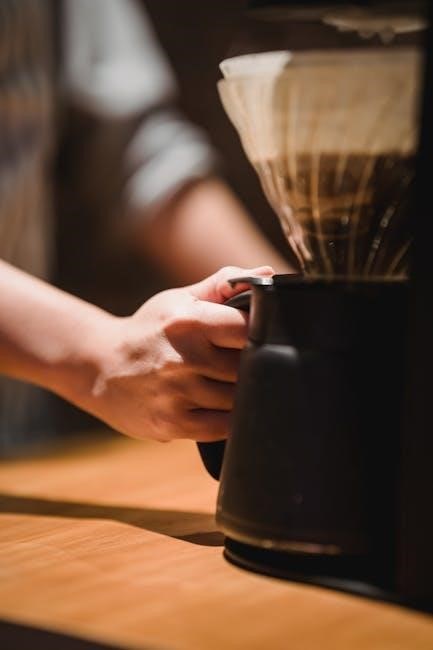
Brewing a Standard Pot of Coffee
Enjoy a perfect pot! After filling the water reservoir and adding coffee grounds to the filter basket, ensure the carafe is correctly positioned on the warming plate. Press the power button to initiate the brewing cycle. The Cruxgg coffee maker will automatically heat the water and drip it through the grounds.
Brewing time varies depending on the amount of coffee being made, typically ranging from 8 to 12 minutes. Avoid interrupting the brewing process unless utilizing the Pause and Serve feature. Once brewing is complete, the coffee maker will automatically switch to the Keep Warm function.
Carefully pour and enjoy your freshly brewed coffee! Always use caution when handling the hot carafe and avoid touching the warming plate during or immediately after brewing.
Programming the Auto-Brew Function
Wake up to fresh coffee! To program the auto-brew function, first press the “Program” button on your Cruxgg coffee maker. The display will likely flash, prompting you to set the desired brew time. Use the “Hour” and “Minute” buttons to adjust the time accurately. Confirm your selection by pressing the “Program” button again.
Ensure the water reservoir is filled and coffee grounds are in the filter basket before programming. The auto-brew function will automatically initiate brewing at the set time. To cancel the programmed brew, press the “Program” button once more, or simply turn off the coffee maker;
Enjoy the convenience of a pre-prepared pot!
Using the Pause and Serve Feature
Need a cup mid-brew? The Cruxgg coffee maker’s “Pause and Serve” feature allows you to briefly interrupt the brewing cycle to pour yourself a cup without making a mess. Simply remove the carafe from the warming plate during brewing – the brewing process will automatically pause.
Carefully pour your desired amount of coffee. Replace the carafe securely on the warming plate within 30 seconds to resume brewing. Prolonged removal may lower the brewing temperature and affect coffee quality.
This feature is designed for quick access, but remember to return the carafe promptly for optimal results. Enjoy!
Advanced Features & Settings
Explore customization! This section details adjusting brew strength, utilizing the keep-warm function, programmable timers, and specialty brew options available on your Cruxgg.
Adjusting Brew Strength
Personalize your coffee! The Cruxgg coffee maker allows you to tailor the brew strength to your precise preference, ranging from mild and delicate to bold and robust. This feature is easily accessible through the control panel, typically indicated by buttons labeled “Strength” or similar.
To adjust, simply press the “Strength” button repeatedly to cycle through the available options. Most models offer at least three settings: Regular, Bold, and sometimes, even Mild. The selected setting influences the brewing time and water temperature, impacting the final flavor profile. A longer brewing time and slightly higher temperature generally result in a bolder brew, extracting more oils and flavors from the coffee grounds.
Experiment with different settings to discover your ideal cup. Remember that the type of coffee beans used also significantly affects the perceived strength. Lighter roasts generally require a bolder setting, while darker roasts may benefit from a regular or even mild setting to prevent bitterness.
Understanding the Keep Warm Function
Enjoy hot coffee longer! The Cruxgg coffee maker features a convenient Keep Warm function, designed to maintain your brewed coffee at an optimal serving temperature for a specified duration. This function automatically activates after the brewing cycle is complete, preventing the coffee from cooling down too quickly.
Typically, the Keep Warm function operates for up to two hours, though some models may offer adjustable time settings. A visual indicator, such as a light on the control panel, will illuminate when the Keep Warm function is active. It’s important to note that prolonged use of the Keep Warm function can slightly alter the coffee’s flavor profile over time, potentially leading to a slightly bitter taste.
To deactivate the Keep Warm function manually, simply press the “Keep Warm” button or turn the coffee maker off. Regularly cleaning the carafe is recommended when using this feature to prevent coffee residue buildup and maintain optimal flavor.
Using the Programmable Timer
Wake up to fresh coffee! The Cruxgg coffee maker’s programmable timer allows you to schedule brewing in advance, ensuring a hot pot of coffee is ready when you desire. To set the timer, first press the “Program” button. Use the “Hour” and “Minute” buttons to set the desired brewing start time. Confirm your selection by pressing “Program” again.
Ensure the water reservoir is filled, and coffee grounds are in the filter before setting the timer. The “Timer” indicator light will illuminate, confirming the programmed brewing time. To cancel the programmed brewing, simply press the “Program” button once more, or turn the coffee maker off.
Double-check the set time to avoid unexpected brewing. Some models allow for 24-hour or AM/PM time settings, so consult your specific model’s instructions.
Specialty Brew Options (If Applicable)
Explore diverse flavors! Certain Cruxgg models offer specialty brew options beyond the standard pot. These may include a “Bold” setting for a richer, more intense flavor profile, or a “Small Batch” option for brewing fewer than 12 cups. If your model features a “Bloom” function, it pre-infuses the grounds, releasing trapped gases for enhanced aroma and taste.
To access these features, look for dedicated buttons or menu options on the control panel. The manual will detail the specific operation of each specialty brew setting. Experiment with different options to discover your preferred coffee experience. Remember that adjusting grind size and coffee-to-water ratio can further refine your brew.
Not all Cruxgg models include these features; consult your model’s specifications.
Cleaning and Maintenance
Regular upkeep ensures longevity! Consistent cleaning preserves optimal performance and coffee quality, preventing mineral buildup and maintaining a fresh, flavorful brew.
Daily Cleaning Procedures
Post-Brew Ritual: After each brewing cycle, promptly discard used coffee grounds and the paper filter. Rinse the filter basket thoroughly with warm, soapy water, ensuring no residue remains. The carafe should also be washed with warm, soapy water and rinsed completely; avoid abrasive cleaners that could scratch the glass.
Exterior Wipe-Down: Wipe down the exterior of the Cruxgg coffee maker with a damp cloth to remove any spills or coffee splatters; Pay attention to the warming plate and control panel. Avoid getting water inside the machine’s openings.
Removable Parts: Ensure all removable parts are completely dry before reassembling. This prevents potential mold or mildew growth and maintains the coffee maker’s hygiene. Consistent daily cleaning contributes significantly to the longevity and performance of your Cruxgg coffee maker.
Descaling the Coffee Maker
Combatting Mineral Buildup: Over time, mineral deposits from water can accumulate inside your Cruxgg coffee maker, affecting brewing performance and coffee taste. Descaling removes these deposits. Mix equal parts white vinegar and water – typically 6 cups total – and pour into the water reservoir.
The Descaling Cycle: Run a full brewing cycle without coffee grounds. Once complete, discard the vinegar solution. Run two to three additional brewing cycles with fresh water only to rinse away any remaining vinegar taste and odor.
Frequency is Key: Descale your Cruxgg coffee maker every 3-6 months, depending on water hardness. More frequent descaling is recommended if you notice slower brewing or a change in coffee flavor. Regular descaling ensures optimal performance and extends the life of your appliance.
Cleaning the Carafe and Filter Basket
Maintaining Freshness: After each use, promptly clean the carafe and filter basket to prevent stale coffee oils from affecting future brews. The carafe is typically dishwasher-safe (top rack recommended), but hand washing with warm, soapy water is also effective. Avoid abrasive cleaners that could scratch the glass.
Filter Basket Care: Remove the filter basket and discard the used coffee grounds. Wash the basket thoroughly with warm, soapy water. Ensure all coffee residue is removed. For stubborn stains, a mild solution of baking soda and water can be used.
Regular Inspection: Periodically inspect the carafe for any cracks or chips. A damaged carafe should be replaced immediately. A clean carafe and filter basket contribute significantly to the quality and flavor of your coffee.
Troubleshooting Common Issues
Addressing Problems: This section provides solutions to frequently encountered issues with your Cruxgg Coffee Maker. If the coffee maker isn’t brewing, ensure it’s properly plugged in and the power outlet is functioning. For slow brewing, descaling may be necessary to remove mineral buildup.
Bitter Coffee Solutions: Bitter coffee often results from using too much coffee grounds or stale coffee. Adjust the coffee-to-water ratio and use fresh grounds. Water leaks typically indicate improper carafe placement or a damaged water reservoir – inspect both carefully.
Further Assistance: If these steps don’t resolve the issue, consult the FAQs or contact Cruxgg Customer Support for personalized assistance. Always refer to the safety precautions before attempting any repairs.
Troubleshooting & FAQs
Need Help? This section addresses common problems and frequently asked questions regarding your Cruxgg Coffee Maker, ensuring optimal performance and enjoyment.
Coffee Maker Not Turning On
Problem: Your Cruxgg Coffee Maker fails to power on, preventing brewing. First, verify the power cord is securely plugged into both the coffee maker and a functioning wall outlet. Test the outlet with another device to confirm it’s providing power.
Check the power switch; ensure it’s fully engaged. If using a power strip, confirm the strip is switched on and functioning correctly. Inspect the power cord for any visible damage, such as cuts or fraying – do not use if damaged!
Reset the coffee maker by unplugging it for 60 seconds, then plugging it back in. If the issue persists, there might be an internal electrical fault requiring professional service. Do not attempt self-repair; contact Cruxgg Customer Support for assistance and potential warranty claims.
Coffee Brewing Too Slowly
Problem: Your Cruxgg Coffee Maker is taking an excessively long time to brew a pot of coffee. The most common cause is mineral buildup, specifically scale, within the machine. This restricts water flow. Descaling the coffee maker (see the ‘Cleaning and Maintenance’ section) is crucial.
Ensure the filter basket isn’t overfilled with coffee grounds, as this can also impede water flow. Use the recommended coffee-to-water ratio. Check for clogs in the spray head or water reservoir outlet. Gently clean these areas with a damp cloth.
Verify the water reservoir is properly seated and not misaligned. If the problem continues after descaling and checking for obstructions, contact Cruxgg Customer Support for further diagnosis and potential repair options.
Coffee Tastes Bitter
Problem: Your brewed coffee has an unpleasantly bitter taste. Several factors can contribute to this. Over-extraction is a primary cause – hot water passing through the grounds for too long. Try reducing the brewing time or using a coarser coffee grind.
Old or stale coffee grounds also impart bitterness. Always use fresh, high-quality coffee beans and store them properly in an airtight container. Insufficient cleaning allows oils and residue to build up, affecting flavor. Regularly clean your Cruxgg coffee maker (see ‘Cleaning and Maintenance’).
Water quality plays a role; use filtered water. Finally, ensure the coffee maker is thoroughly descaled, as mineral buildup can also contribute to a bitter taste. Experiment with these adjustments to find your ideal brew.
Water Leaking from the Coffee Maker
Problem: You observe water leaking from your Cruxgg coffee maker during or after brewing. This often indicates an issue with proper sealing or component alignment. Check the water reservoir to ensure it’s correctly seated and not overfilled. A cracked reservoir can also cause leaks; inspect it carefully.
Verify the carafe is properly positioned on the warming plate. Incorrect placement can disrupt the brewing cycle and lead to spills. Inspect the filter basket for any cracks or obstructions preventing a tight seal.
Mineral buildup can also cause leaks; descale your coffee maker regularly; If the leak persists, discontinue use and contact Cruxgg Customer Support for assistance – do not attempt self-repair.
Warranty Information & Support
Cruxgg provides a one-year limited warranty covering manufacturing defects. For support, visit our website or contact customer service for prompt assistance.
Cruxgg Warranty Details
Our commitment to quality is reflected in the Cruxgg Coffee Maker’s warranty. This warranty covers defects in materials and workmanship under normal household use for one year from the date of original purchase. It does not cover damage resulting from misuse, accidents, unauthorized repairs, or normal wear and tear.
To make a warranty claim, please retain your proof of purchase and contact Cruxgg Customer Support (details below). We may request photographic evidence of the defect. Cruxgg, at its discretion, will either repair the defective product or replace it with a new or refurbished unit. This warranty gives you specific legal rights, and you may have other rights which vary by location.
Important Note: Warranty is void if the product has been modified or used for commercial purposes. Please register your product online to expedite any future warranty claims.
Contacting Cruxgg Customer Support
Need assistance? The Cruxgg Customer Support team is here to help! We offer multiple channels to address your questions and concerns regarding your coffee maker. For frequently asked questions and troubleshooting tips, please visit our website at www.cruxgg.com/support.
You can also reach us directly via email at support@cruxgg.com, or by phone at 1-800-CRUXGG1 (1-800-278-9441) during our business hours: Monday-Friday, 9 AM to 5 PM EST. When contacting support, please have your model number and proof of purchase readily available to expedite the process.
We strive to respond to all inquiries within 24-48 hours. Follow us on social media @Cruxgg for updates and helpful tips!