Nikon D3200 Manual: A Comprehensive Guide
Discover detailed guidance for your Nikon D3200 digital camera, unlocking its full potential with this comprehensive resource for optimal photographic experiences.
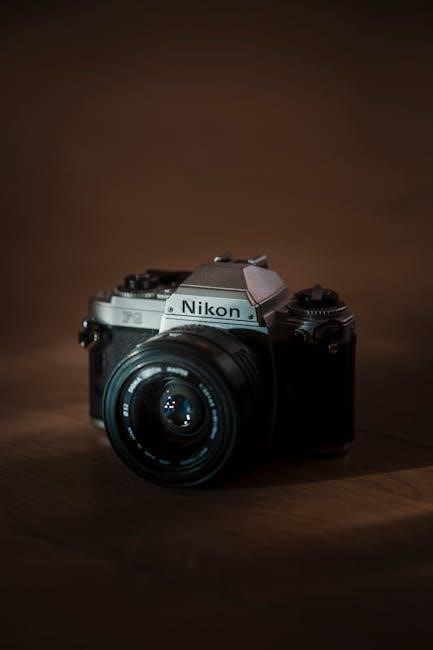
Welcome to the world of DSLR photography with the Nikon D3200! This guide serves as your companion, helping you navigate and master this powerful camera. Upon purchasing your Nikon D3200, carefully reading this manual is crucial to fully utilize its capabilities. It’s designed for both beginners venturing into photography and experienced users seeking to refine their skills.
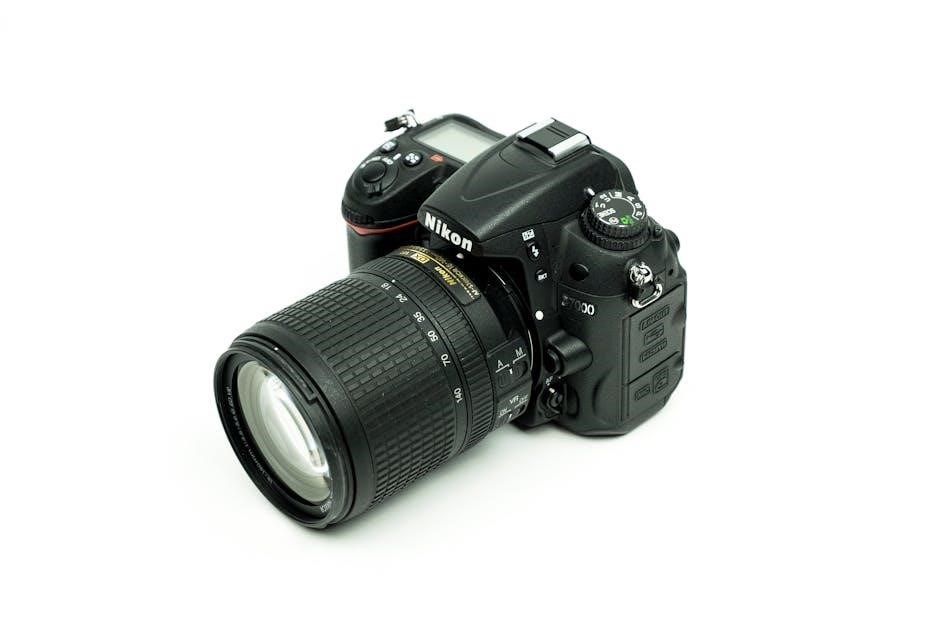
The D3200 boasts a 24.2-megapixel DX-format CMOS sensor, delivering exceptional image quality and detail. This camera empowers you to capture stunning photos and high-definition videos. Familiarizing yourself with its features, controls, and shooting modes will unlock a realm of creative possibilities. This manual provides step-by-step instructions, troubleshooting tips, and insights to enhance your photographic journey.
Understanding the Camera’s Features
The Nikon D3200 is packed with features designed to elevate your photography. Key highlights include the 24.2-megapixel DX-format CMOS sensor for detailed images, and a wide ISO range (100-6400) for excellent low-light performance. It offers 11-point autofocus for sharp subject tracking, and Full HD 1080p video recording capabilities.
The camera also features Scene Modes – Portrait, Landscape, Sports – simplifying shooting in various conditions. Its built-in flash provides additional illumination, and the Guide Mode assists beginners with camera settings. Furthermore, the D3200 supports Nikon’s Picture Control system, allowing customized image profiles. Exploring these features through the supplied software and manual will unlock its full potential.
Getting Started with Your Nikon D3200
Begin your photographic journey by unpacking, setting up, and charging your Nikon D3200, then install the included software for full functionality.
Unboxing and Initial Setup
Carefully unpack your Nikon D3200, ensuring all components are present – the camera body, kit lens, battery, battery charger, USB cable, and various manuals and software discs. Before first use, insert the battery into the compartment and connect the charger to a power outlet. Allow the battery to fully charge; this is crucial for optimal performance.
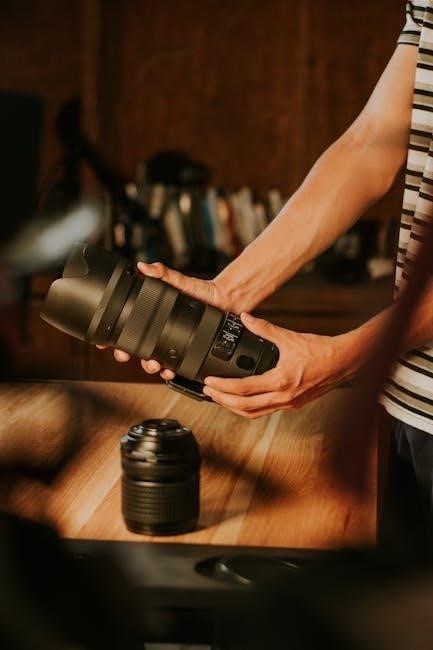
Next, attach the kit lens to the camera body, aligning the marks and gently twisting until it clicks into place. Insert the supplied CD-ROM into your computer to begin the software installation process. Familiarize yourself with the camera’s basic layout, including the mode dial, shutter button, and control dial. This initial setup prepares you for exploring the D3200’s capabilities.
Installing the Supplied Software
Begin by inserting the Nikon D3200’s installation disc into your computer’s optical drive. A window should appear; double-click the Nikon D3200 icon to launch the installer. Follow the on-screen prompts, accepting the license agreement and choosing your preferred installation location. The software suite typically includes Nikon Transfer 2 for image transfer and ViewNX-i for image browsing and basic editing.
Alternatively, you can download the Nikon Manual Viewer 2 app from the App Store or Google Play for mobile access to the manual. Ensure your computer meets the minimum system requirements for smooth operation. Complete the installation and restart your computer if prompted. This software enhances your workflow and allows for efficient image management.
Charging the Battery
Before first use, fully charge the Nikon D3200’s rechargeable Li-ion battery. Connect the supplied power adapter to the battery charger, then insert the battery, ensuring correct polarity. The charger’s LED will illuminate, indicating charging is in progress. A solid LED signifies a full charge, typically taking several hours.
Avoid interrupting the charging process. You can continue to use the camera while charging with the AC adapter, but charging will be slower. Only use the supplied Nikon charger to prevent damage. Store the battery in a cool, dry place when not in use. Regularly charging and discharging the battery maintains its lifespan.
Basic Camera Operations
Master fundamental controls: powering the camera on/off, navigating menus, and utilizing the mode dial for diverse shooting scenarios with ease and precision.
Powering On and Off
To power on your Nikon D3200, locate the main power switch on the top-right side of the camera body. Slide this switch to the ‘ON’ position. You’ll hear a brief sound, and the LCD screen will illuminate, indicating the camera is ready for use. Ensure the battery is adequately charged for successful operation.
Shutting down the camera is equally straightforward. Simply slide the main power switch back to the ‘OFF’ position. The LCD screen will darken, and the camera will enter standby mode, conserving battery life. Remember to always turn off the camera when not in use to prevent accidental battery drain or potential issues.
Note: The camera also features an automatic power-off function to further conserve battery. This function activates after a period of inactivity, but can be adjusted in the camera’s settings menu.
Navigating the Menu System
Accessing the menu on your Nikon D3200 is done by pressing the ‘MENU’ button located on the rear of the camera. This will display the main menu on the LCD screen, organized into several tabs represented by icons. Use the multi-selector (directional pad) to navigate between these tabs – Setup, Shooting, Custom Settings, and Retouch.
Within each tab, use the multi-selector to highlight the desired menu item. Pressing the ‘OK’ button will then select that item, allowing you to adjust its settings. To return to the previous menu level, press the ‘MENU’ button again.
The ‘i’ button provides quick access to frequently used settings, streamlining your workflow. Familiarize yourself with the menu structure to efficiently customize your camera.
Using the Mode Dial
Located on the top-right of your Nikon D3200, the mode dial is central to controlling shooting settings. Rotating the dial selects different camera modes, each offering varying levels of control. Key modes include Auto, Scene, Program (P), Aperture-priority (A), Shutter-priority (S), and Manual (M).
Auto mode simplifies shooting, letting the camera handle all settings. Scene modes optimize settings for specific situations like portraits or landscapes. P mode allows control over ISO, white balance, and picture control while the camera sets aperture and shutter speed.
A and S modes offer control over aperture or shutter speed respectively, while M mode grants full manual control. Understanding each mode unlocks creative potential.
Shooting Modes Explained
Explore diverse shooting options, from fully automatic simplicity to advanced manual control, tailoring settings for portraits, landscapes, sports, and personalized photographic visions.
Auto Mode for Beginners
For those new to DSLR photography, the Nikon D3200’s Auto mode provides a straightforward starting point. This mode intelligently analyzes the scene, automatically selecting optimal settings for aperture, shutter speed, ISO, and white balance. Simply compose your shot and press the shutter button – the camera handles the technical complexities.
Auto mode is ideal for everyday snapshots, ensuring well-exposed and properly focused images in various lighting conditions. While it limits creative control, it’s a fantastic way to learn the basics without being overwhelmed by settings. It’s perfect for capturing spontaneous moments and quickly documenting life’s events, allowing you to focus on composition and subject matter rather than technical adjustments.
Scene Modes: Portrait, Landscape, Sports
The Nikon D3200 offers several Scene modes tailored for specific shooting situations. Portrait mode prioritizes subject sharpness and utilizes a slightly blurred background, enhancing the subject’s prominence. Landscape mode maximizes depth of field, ensuring sharpness throughout the entire scene – ideal for expansive vistas.
Sports mode employs a faster shutter speed to freeze motion, capturing fast-paced action with clarity. These modes simplify photography by pre-configuring camera settings for optimal results in each scenario. While offering less control than manual modes, they provide a convenient way to achieve professional-looking images without extensive technical knowledge, making them perfect for quick and effective shooting.
Program Auto (P) Mode
Program Auto (P) mode on the Nikon D3200 strikes a balance between automatic convenience and creative control. The camera automatically selects the shutter speed and aperture for optimal exposure, but allows the photographer to adjust other settings like ISO, white balance, and exposure compensation.
This mode is excellent for situations where you want a degree of control without the complexity of fully manual settings. It’s a step up from Auto mode, offering more flexibility to fine-tune images. Program Auto is ideal for experienced beginners looking to expand their photographic skills and explore different creative possibilities.
Focusing and Exposure
Master precise image capture with the Nikon D3200, utilizing autofocus modes and understanding exposure compensation for perfectly focused and brilliantly exposed photographs.
Autofocus Modes: Single, Continuous, Dynamic-area
The Nikon D3200 offers versatile autofocus (AF) modes to suit various shooting scenarios. Single-area AF (AF-S) is ideal for stationary subjects, locking focus when the shutter button is pressed halfway. Continuous-area AF (AF-C) tracks moving subjects, continuously adjusting focus as they move – perfect for sports or wildlife.
Dynamic-area AF combines both, allowing you to select a focus point and the camera will track the subject even if it moves outside the initial focus area. This mode utilizes surrounding focus points for enhanced tracking. Understanding these modes is crucial for capturing sharp images, ensuring your subjects are always in focus, regardless of their movement or your shooting style. Experiment with each mode to determine which best suits your photographic needs and subject matter.
Understanding Exposure Compensation
Exposure compensation allows you to override the camera’s automatic exposure settings, brightening or darkening images as needed. It’s measured in stops (+/- EV), with positive values increasing brightness and negative values decreasing it. Use this when the camera’s meter is fooled by bright or dark scenes.
For example, shooting snow can result in underexposed (dark) images; use +EV to compensate. Conversely, dark subjects might lead to overexposure; use -EV. Mastering exposure compensation is vital for achieving correctly exposed photos in challenging lighting conditions, giving you greater creative control over your images and ensuring they accurately reflect your vision.
Metering Modes: Matrix, Center-weighted, Spot
Nikon D3200 offers three metering modes: Matrix (evaluative), Center-weighted, and Spot. Matrix metering analyzes the entire scene for balanced exposure, ideal for general photography. Center-weighted prioritizes the center of the frame, useful for portraits where the subject is centrally located.
Spot metering measures light from a very small area, perfect for challenging lighting or when precise exposure of a specific subject is crucial. Understanding these modes allows you to tailor exposure to different scenarios, ensuring accurate and well-exposed images. Experiment with each mode to see how they affect your photos.
Understanding the Nikon D3200’s Controls
Explore the Nikon D3200’s function buttons, control dial, and information display for customized operation and efficient navigation through camera settings.
Function Buttons and Customization
The Nikon D3200 features several function buttons designed to streamline your workflow and provide quick access to frequently used settings. These buttons, strategically placed on the camera body, allow for immediate adjustments to features like white balance, image quality, and autofocus modes.
A key aspect of the D3200 is its customization options. You can personalize the function buttons to trigger the settings you use most often, tailoring the camera to your individual shooting style. This level of control significantly enhances efficiency, reducing the need to navigate through complex menu systems during critical moments.
Experiment with different button assignments to discover a configuration that perfectly suits your photographic needs. This customization capability empowers you to operate the camera intuitively and capture stunning images with ease.
The Control Dial and its Uses
The Nikon D3200’s control dial is a versatile tool for adjusting camera settings quickly and efficiently. Located conveniently on the top panel, this dial allows you to modify settings like aperture, shutter speed, and exposure compensation, depending on the shooting mode selected.
In Program Auto (P) mode, the dial shifts between aperture and shutter speed control, offering a balance between automation and manual adjustment. When in Manual (M) mode, the dial provides direct control over both aperture and shutter speed, granting full creative command.
Mastering the control dial is crucial for unlocking the D3200’s full potential, enabling you to fine-tune your images and achieve desired photographic effects with precision and speed.
Using the Information Display
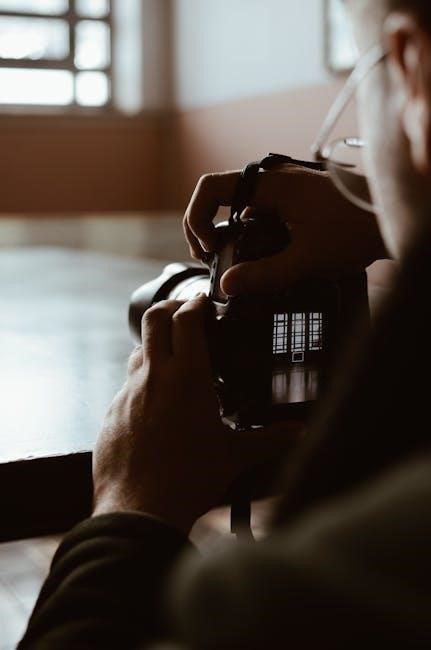
The Nikon D3200 features a comprehensive information display, both on the rear LCD screen and in the optical viewfinder, providing crucial shooting data at a glance. This display shows essential settings like aperture, shutter speed, ISO, exposure compensation, and remaining battery life.
Pressing the ‘i’ button accesses a quick settings menu on the LCD, allowing for rapid adjustments to commonly used functions. The viewfinder display mirrors much of the LCD information, enabling convenient monitoring even in bright sunlight.
Understanding the information presented on these displays is key to controlling your camera and achieving desired photographic results, ensuring informed shooting decisions.
Advanced Features and Settings
Explore white balance control, Picture Control settings, and flash options to refine your images and unlock the full creative potential of your D3200.
Working with White Balance
White balance ensures accurate color rendition under different lighting conditions. The Nikon D3200 offers several white balance presets, including Auto, Incandescent, Fluorescent, Direct Sunlight, Flash, Cloudy, and Shade; Auto white balance generally performs well, but for critical shots, selecting the appropriate preset yields superior results.
Custom white balance allows precise color correction. Use a white or gray card, photograph it under the current lighting, and set this as your reference. This ensures colors appear natural and true-to-life. Experiment with the Kelvin temperature settings for fine-tuning, adjusting the color temperature to achieve the desired look. Understanding white balance is crucial for achieving professional-quality images with accurate and pleasing colors.
Picture Control Settings
Picture Control settings on the Nikon D3200 allow you to customize the look of your images directly in-camera. Options include Standard, Neutral, Vivid, Monochrome, Portrait, and Landscape. Each preset adjusts sharpness, contrast, brightness, and saturation to suit different shooting scenarios.
Customizing Picture Controls provides further creative control. You can fine-tune each setting individually, saving your preferred combinations for consistent results. Experiment with these adjustments to develop your unique photographic style. These settings are non-destructive, meaning the original image data remains untouched, allowing for post-processing flexibility. Mastering Picture Controls enhances your creative vision.
Using Flash Effectively
The Nikon D3200 features a built-in flash, useful for illuminating subjects in low-light conditions or adding fill-light in bright sunlight. Explore flash modes like Auto, Auto with Red-Eye Reduction, Fill-Flash, Slow Sync, and Rear-Curtain Sync. Understanding these modes is crucial for achieving desired results.
For optimal flash photography, consider the distance to your subject and adjust flash compensation accordingly. Utilizing external flashes expands creative possibilities, offering greater power and control. Remember to avoid direct flash when possible, bouncing it off surfaces for softer, more natural-looking light. Experimentation is key to mastering flash techniques.

Troubleshooting Common Issues
Resolve typical problems like camera power failures, error messages, and image quality concerns with this guide, ensuring smooth operation of your Nikon D3200.
Camera Not Turning On
If your Nikon D3200 fails to power on, begin by verifying the battery is correctly inserted and fully charged. A depleted or improperly seated battery is a frequent cause; Try a different, known-working battery if available to isolate the issue.
Next, inspect the battery contacts within the camera compartment for any signs of corrosion or debris, cleaning them gently with a soft, dry cloth. Ensure the power switch is set to the ‘ON’ position; sometimes, it may not be fully engaged.
Also, check the SD card door is securely closed, as a faulty sensor can prevent the camera from starting. If the problem persists, reset the camera by removing the battery and SD card for several minutes before reinserting them. If none of these steps resolve the issue, professional repair may be necessary.
Error Messages and Solutions
The Nikon D3200 may display various error messages indicating specific problems. “Err” followed by a code requires consulting the camera’s manual for a precise explanation. Common errors include card errors (ensure a compatible card is properly inserted), lens errors (verify lens attachment and compatibility), and internal camera errors.
For card errors, try reformatting the card within the camera (back up data first!). Lens errors may resolve with a reattachment, cleaning of contacts, or a firmware update. Internal errors often suggest a more serious issue requiring professional service.
Always note the exact error message and attempt basic troubleshooting steps like restarting the camera and removing/reinserting the battery and SD card before seeking advanced assistance. Referencing the official Nikon support website can provide detailed solutions for specific error codes.
Dealing with Image Quality Problems
If your Nikon D3200 images appear blurry, check focus accuracy and ensure sufficient light. Low light often necessitates a higher ISO, potentially introducing noise – experiment with settings. Grainy images can also result from small sensor size; consider shooting in RAW for greater editing flexibility.
Color inaccuracies might stem from incorrect white balance settings. Utilize preset modes or custom white balance for accurate colors. Over or underexposed photos can be corrected in post-processing, but strive for proper exposure in-camera.
Review your lens for cleanliness and potential damage. A dirty lens significantly impacts image sharpness. Finally, ensure your image size and quality settings are optimized for your desired output.
Downloading the Nikon D3200 Manual
Access the official Nikon website or utilize third-party sites to view or download the PDF manual, or install the Nikon Manual Viewer app.
Official Nikon Website Resources
Nikon’s official website serves as the primary and most reliable source for your D3200 manual. You can typically find the downloadable PDF version directly within the support section of their site. Navigate to Nikon’s support pages, search for the D3200 model, and locate the “Manuals” or “Downloads” area.
Ensure you are downloading from the official Nikon domain to avoid potentially harmful software or outdated versions. The website often provides manuals in multiple languages, catering to a global user base. Beyond the core manual, Nikon may also offer supplementary guides, software updates, and frequently asked questions to enhance your camera experience. Regularly checking the official website ensures you have the latest information and resources available for your D3200.
Third-Party Manual Download Sites
While Nikon’s official website is preferred, several third-party websites archive and offer downloadable manuals for the D3200. These sites can be useful if you’re experiencing difficulty accessing the Nikon website or require an alternative download source. However, exercise caution when using these platforms.
Always scan downloaded files with updated antivirus software to protect against potential malware. Popular options include manualslib.com and similar document-sharing platforms. Verify the file’s integrity and ensure it matches the official Nikon manual’s content. Be mindful of intrusive advertisements or suspicious download prompts. Prioritize official sources whenever possible for the safest and most accurate information regarding your Nikon D3200.
Nikon Manual Viewer App (App Store/Google Play)
Nikon offers a convenient Manual Viewer app, available for both iOS (App Store) and Android (Google Play) devices. This application allows you to directly access the D3200’s manual on your smartphone or tablet, eliminating the need to carry a physical copy or search online.
The app provides an easy-to-navigate interface, with searchable content and often includes features like bookmarks and notes. Downloading the manual through the app ensures you have the latest version readily available. It’s a practical solution for photographers who prefer digital access to their camera’s documentation while on the go, offering quick reference and support.